Karen Cabrera posted on her blog about a wonderful new toy called kinetic sand. Karen gave me permission to share it with you. She created this little angel using kinetic sand.

Kinetic sand is like wet sand that sticks to itself.
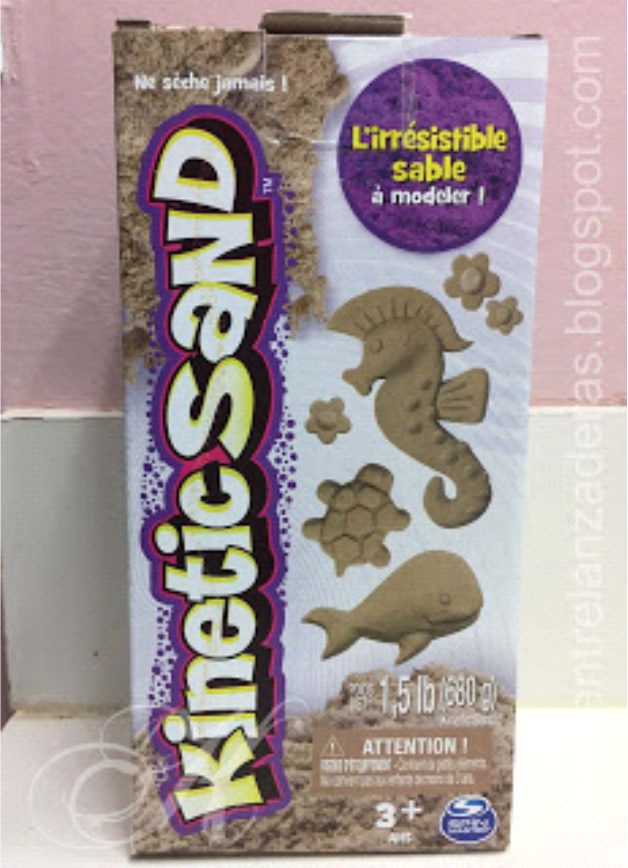
You can mold it into any shape.

The sand does easily fall apart. See video.
To prevent the sand from losing its shape, just cover it with a plastic bag and mold it. When you achieve the correct shape, close the plastic bag and tape it to hold its shape. Make sure the bag is as smooth as possible.
Before placing your tatting on the mold, add plastic wrap to make the area even smoother. The smoother the plastic, the easier it is to remove the tatting without any trouble.
In the photo below, Karen used a cardboard tube wrapped in plastic wrap for the wings. (Never use Styrofoam when using Amazing Fa-Brick as a hardener.)
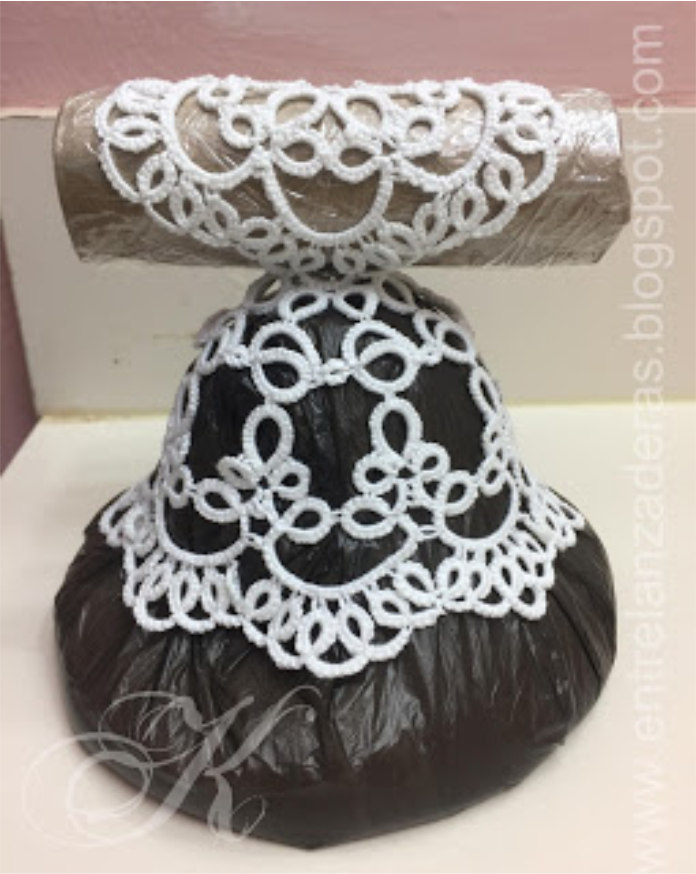
Note: The wings and the body were already joined with regular tatted joins before they were set on the molds.
Karen applied one coat of Amazing Fa-Brick. It dries clear and doesn’t stick to plastic. Its odor is no stronger than Elmer’s glue. It can be found here.

Before application, Karen likes to dampen the tatting to help it absorb this hardener. When it dries, it is as hard as vinyl tiles. If your tatting will be used outside, apply several coats, letting each dry in between applications. This creates a harder finished piece.
After 24 hours, the Amazing Fa-Brick dries. If you have applied the hardener correctly (read instructions on package), the tatting will not stretch when you remove it. You can pull away the plastic or gently slide a crochet hook between the tatting and plastic to lift off the tatting. The hardener may leave some residue which can be brushed away or removed with tweezers.
I am excited to try this. I hope you’ll give it a try. Have fun!