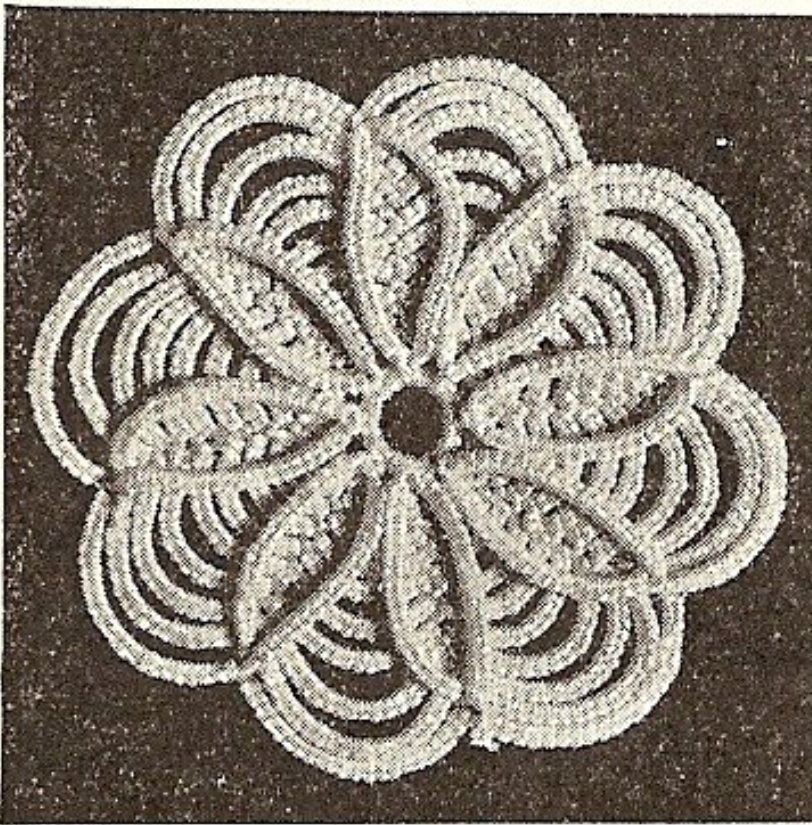
Tatted Daisy by Mrs. W. M. Odum. It is found here.
For your convenience, I rewrote the pattern so it is easier to read.
Supplies:
2 small Sew Mate shuttles (both full / add thread as needed)
Lizbeth Thread (Size 20)
Crochet Hook (Size 11)
Picot Gauge (1/8″) (.32 cm)
Abbreviations:
Ch = Chain
DS = Double Stitch(es)
J / + = Join
MP = Mock Picot
Rep = Repeat
RW = Reverse Work
R = Ring
Sh1 = Shuttle 1
Sh2 = Shuttle 2
Notes:
All picots = 1/8″ (.32 cm)
Join A: (Pull (backside to front) Sh1 thread to make a loop, insert (front to backside) Sh1 through loop.)
Join B: (Pull (backside to front) Sh2 thread to make a loop, insert (front to backside) Sh1 through loop.)
Round 1:
R: 2 – 2 – 2 – 2 – 2 – 2 – 2 / – (MP.) RW. (7 picots total.)
Round 2:
Ch: [4, + (j. to next picot of center ring), 4] (Rep. 7 times.) Join to first picot where you started.
Round 3:
Ch: Picot, 6, + (j. to next picot),
*6, + (j. to next picot)*
Rep. from * to * around.
Rounds 4 – 10: Same as Row 3.
Add 2 DS to each chain in the succeeding rows.
(Hint: Round 4 = 8 DS in each Ch and Round 10 = 22 DS in each Ch.)
Round 11: (Last Round)
Chain 20 DS, bring it across the top of the medallion to center.
Use Join A to make a join to first picot of center ring. Rotate work.
Chain 20 DS, carry chain to outer round.
Use Join A to make a join to starting point. Rotate work.
*Chain 24, use Join B to make a join to the next picot on the outside round.
Chain 20, use Join A to join to next picot of center ring.
Chain 20, use Join A to make a join to the starting point.*
Repeat from * (Chain 24) to * around.
After you have made last chain of 24 DS, leave 3-4″ (7.6 – 10 cm) of Sh1 and Sh2 threads. Cut threads.
Use a crochet hook to pull Sh1 thread (front to backside) down through first picot of the first chain on outside round.
Tie Sh1 and Sh2 threads in a square knot. Or finished using your preferred method.
Note: In Round 11, I used 23 double stitches instead of 24. I thought this made the space between the last round and previous rounds look equal in size. In other words, adding 24 DS made the space between the previous chain and the last outer chain appear larger than normal.
If you need to know what a term means, click here. Then click on “Shuttle Tatting.” Scroll down to click on the term in question.